Earwig Sync+ · one-click builds

Your set markers, built
into your edit. One click.

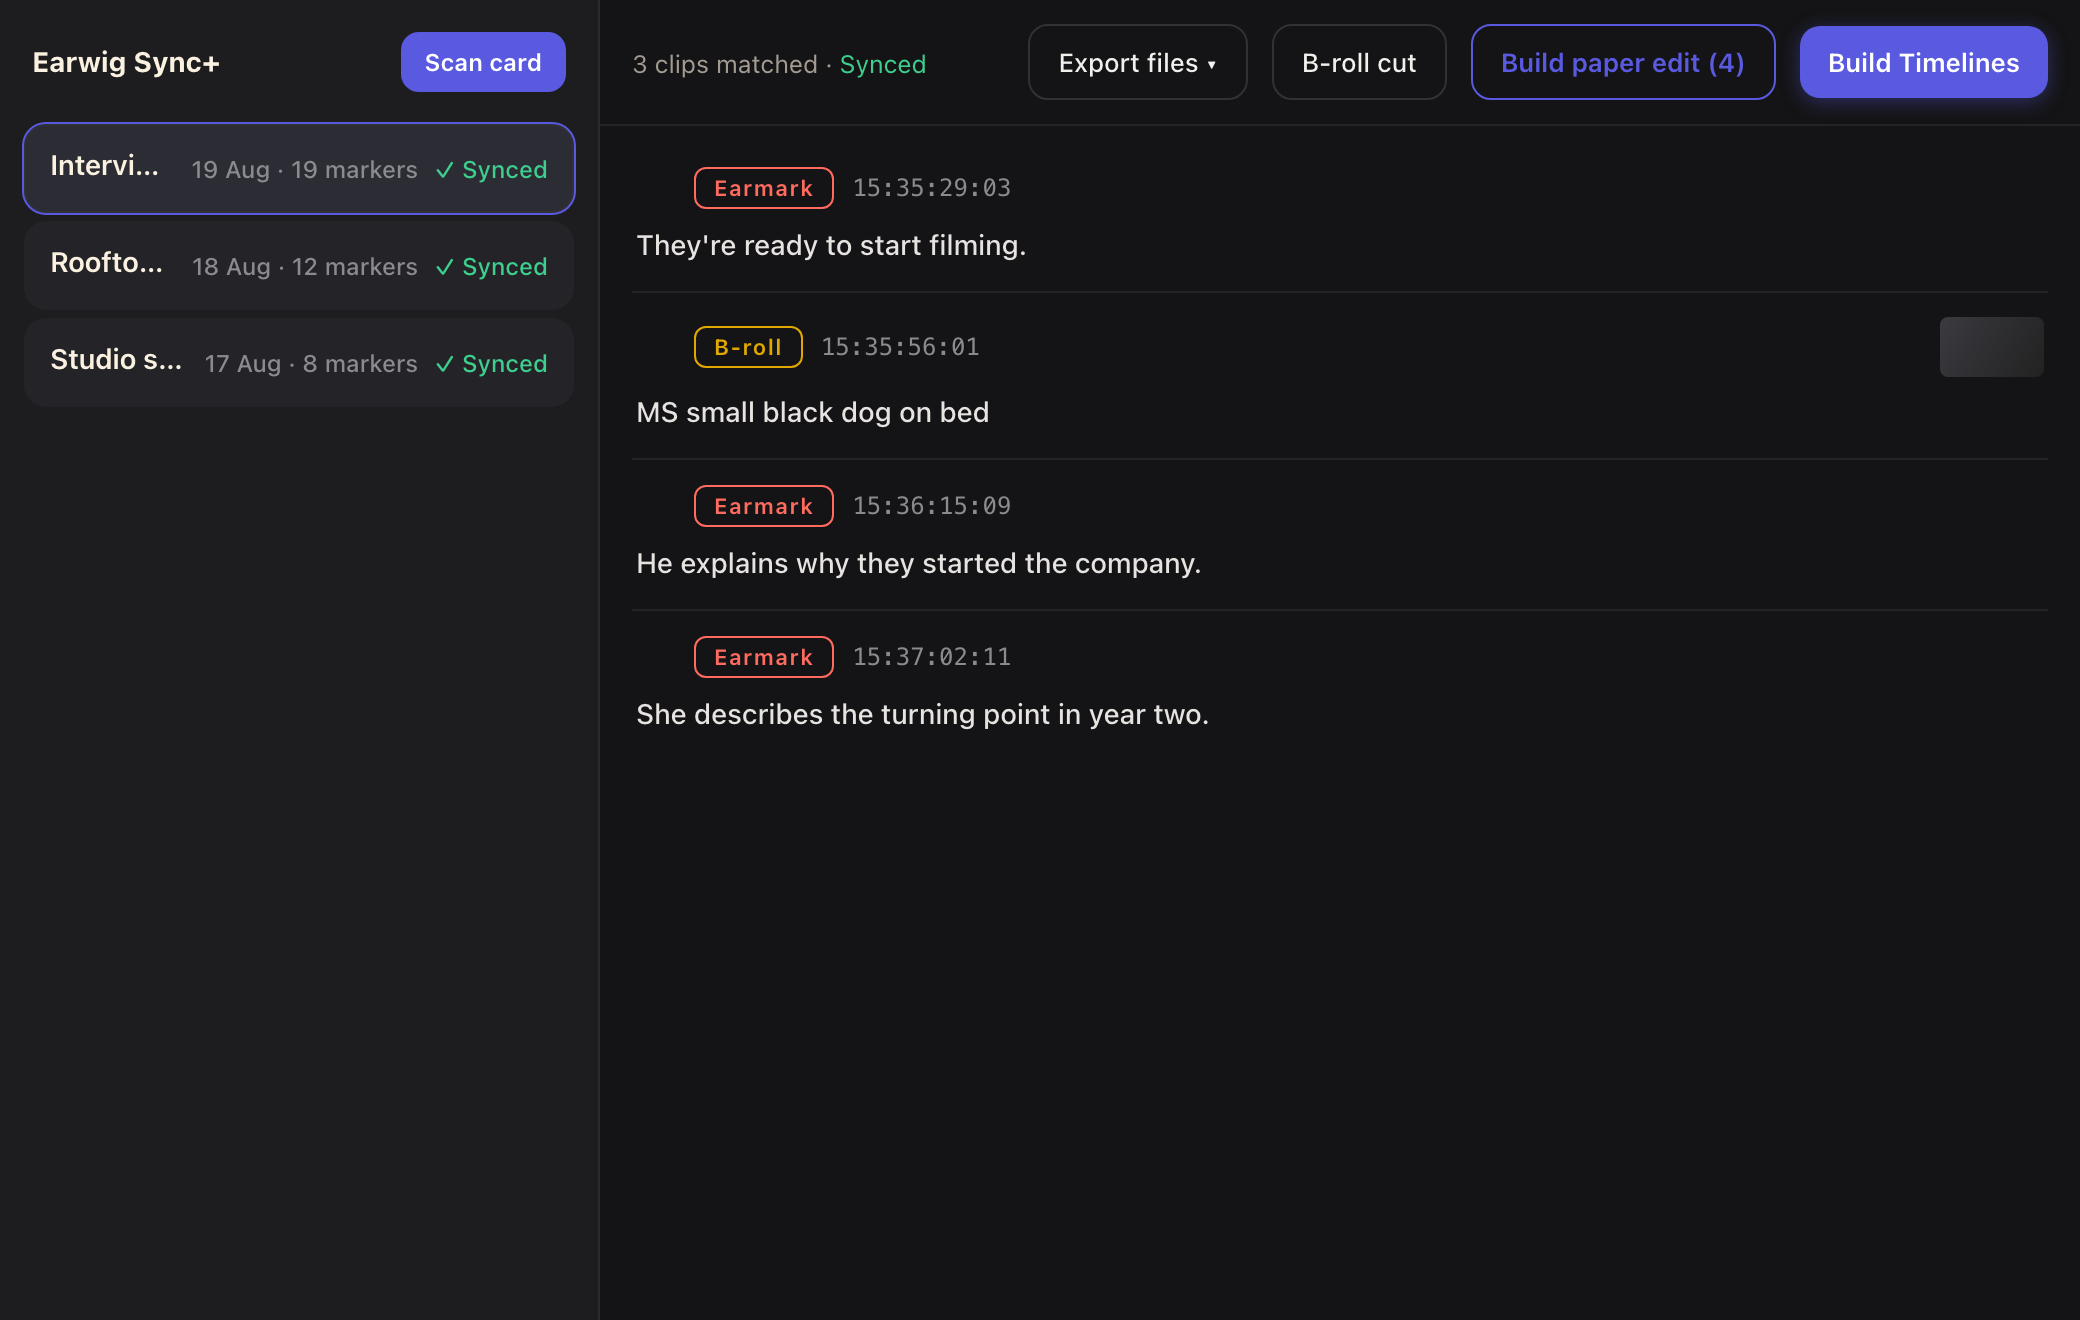
A panel inside DaVinci Resolve and Premiere Pro. Insert your camera card and Earwig automatically syncs your footage to the moments you logged on set, and builds your timelines in one click.

Log your moments on set with the Earwig Marker app — Download on the App Store

Free to download. Runs on your Mac.

Your card is the source. No importing first.

You don't copy footage into a project and then hunt for the good bits. Insert the card and Earwig sees it straight away — Sony, Canon, Blackmagic, Panasonic, AVCHD — and automatically syncs it to the markers your phone logged on set.

01

Insert the card

Earwig auto-detects the camera card the moment it mounts. Already offloaded? Point it at the folder with Add drive.

02

It syncs itself

Earwig automatically syncs your footage, placing every marker frame-accurately — nothing to set up.

03

The right clip, always

Every marker lands on the exact take you shot — you're never handed the wrong film.

04

Build the timelines

Selects cut on your marked words, a Cutaways reel, and an All-Markers timeline — every marker named, coloured and carrying the quote.

Where to find it: in DaVinci Resolve open Workspace ▸ Workflow Integrations ▸ Earwig Sync+; in Premiere Pro open Window ▸ Extensions ▸ Earwig Sync+. The card-scan lives at the top of the sessions list — Rescan to look again, Add drive to pick a folder.

1 · Install it

Pick your editor. About two minutes either way.

  1. Works with DaVinci Resolve Studio (18.5 or newer) — the edition that includes Workflow Integrations.
  2. Download for DaVinci Resolve above and double-click the .pkg.
  3. Enter your Mac password once — it installs Earwig Sync+ and connects it to Resolve in a single pass.
  4. Quit and reopen DaVinci Resolve.
  5. Open it from Workspace ▸ Workflow Integrations ▸ Earwig Sync+.
Safe to open. It's signed with our Apple Developer ID and notarised by Apple, so it installs cleanly on your Mac.
  1. You'll need Premiere Pro 2024 or newer on macOS.
  2. Download for Premiere Pro above and unzip it.
  3. Right-click Install Earwig Sync.command and choose Open. macOS asks once because it comes from the web rather than the App Store — Open runs it. It switches on Adobe's setting for panels installed outside the Creative Cloud marketplace and copies Earwig Sync+ into Premiere's extensions folder.
  4. Earwig needs ffmpeg (a free, standard media tool). If you don't have it yet: install Homebrew, then run brew install ffmpeg in Terminal.
  5. Quit and reopen Premiere Pro.
  6. Open it from Window ▸ Extensions ▸ Earwig Sync+.

2 · Bring in your sessions

Sign in, insert your card — your marked moments are waiting.

  1. Open the panel in your editor — DaVinci Resolve: Workspace ▸ Workflow Integrations ▸ Earwig Sync+; Premiere Pro: Window ▸ Extensions ▸ Earwig Sync+.
  2. Sign in — enter your Earwig email for a sign-in code, or on iPhone open the app's Settings ▸ Link and scan the QR the panel shows. Your sessions load down the left.
  3. Insert your camera card. Earwig scans it and shows which sessions it found footage for. (Copied to a drive already? Click Add drive.)
  4. Pick your shoot session. Check it in Markers, Transcript and Paper edit — every marked moment with its timecode and the line that was said.
Earwig Sync+ showing your sessions and marked moments

3 · Build your timeline

One click — cut on your markers, in your editor.

  1. Hit Build Timelines. Earwig automatically syncs your footage and lays down three timelines in a dated bin: Selects, Cutaways and All Markers.
  2. Want a rough cut? In Transcript, drag across sentences into a paper edit, then Build paper edit — a cut on the exact words you chose.
  3. Open your editor — the timelines are in a dated bin in your project, markers placed, ready to cut.
Everything stays on your Mac. Your sign-in is remembered between updates.